Outdoor Lighting Tips as Days Get Shorter: Safety and Ambiance
As autumn transitions into winter, shorter days mean we’re navigating outdoor spaces in darkness more often. Whether you’re arriving home after work, hosting evening gatherings, or simply want your property to look inviting, outdoor lighting becomes essential rather than optional. This guide will show you how to balance safety with ambiance, creating outdoor spaces that are both functional and beautiful as daylight becomes scarce.
Why Outdoor Lighting Becomes Critical in Fall and Winter
Shorter days aren’t just an inconvenience—they create real safety concerns. By late autumn, many people leave for work in darkness and return home the same way. Unlit pathways, steps, and entryways increase fall risks, while poorly lit properties become more vulnerable to security issues.
Beyond safety, outdoor lighting extends your usable living space. Patios, porches, and yards don’t have to become off-limits when the sun sets early. Proper illumination allows you to enjoy outdoor areas year-round while adding curb appeal that makes your home welcoming to residents and guests alike.
Step 1: Identify High-Priority Safety Zones
Start by walking your property at dusk to identify areas that become hazardous or difficult to navigate in darkness. This assessment reveals exactly where lighting is most critical before you invest in fixtures or installation.
Priority areas include:
- Front and back entry doors
- Pathways from driveway to entrances
- Stairways and steps (both interior decks and exterior walkways)
- Driveways and parking areas
- Garage entries and side doors
- Pool areas or water features
Take notes or photos during this walk-through, marking spots where you stumbled, felt uncertain, or needed your phone flashlight. These are your immediate lighting needs that address safety first.
Step 2: Choose the Right Lighting Types for Each Function
Different outdoor areas require different lighting approaches. Understanding which fixture types work best for specific purposes prevents both over-lighting and inadequate illumination.
Path lights line walkways at ground level, typically standing 12-24 inches tall. Space them 6-8 feet apart along pathways for consistent illumination without creating a runway effect. Solar-powered options eliminate wiring hassles, though hardwired LED versions provide brighter, more reliable light.
Floodlights and spotlights deliver focused, high-intensity illumination for security purposes. Mount floodlights high on corners of structures to eliminate shadows where intruders might hide. Spotlights work well for highlighting specific features like trees, architectural details, or house numbers.
Wall-mounted fixtures beside doors and garage entries provide functional task lighting. Choose fixtures rated for wet locations with bulbs bright enough to illuminate keyholes and faces clearly—this aids both security and convenience.
Post lights and lamp posts anchor larger areas like driveways or expansive front yards. These taller fixtures (6-8 feet high) cast wider light circles, reducing the number of individual fixtures needed.
Step 3: Implement Proper Pathway Illumination
Pathways present the highest injury risk in outdoor spaces, making proper lighting here non-negotiable. The goal is creating safe passage without creating glare that actually impedes vision.
Install path lights on alternating sides rather than lining both edges uniformly. This staggered approach provides adequate light while looking more natural and less institutional. Ensure lights illuminate the walking surface itself, not just creating decorative glows that don’t actually show where to step.
Consider the color and texture of your pathway materials when selecting bulb brightness. Dark pavers or stone absorb more light, requiring brighter fixtures than light-colored concrete or gravel paths. Test fixture placement before permanent installation—many solar lights simply stake into ground, allowing easy adjustment.
For steps and stairs, dedicated step lights built into risers or mounted beside each step provide essential visibility. These low-profile fixtures prevent tripping while adding sophisticated ambiance. At minimum, light the top and bottom of any stairway, though illuminating each individual step offers maximum safety.
Step 4: Balance Security with Energy Efficiency
Security lighting protects your property without requiring every outdoor light to blaze all night. Smart planning reduces energy costs while maintaining safety.
Motion-sensor lights offer the best balance between security and efficiency. Modern sensors have become remarkably sophisticated, allowing you to adjust:
- Detection range (how far away movement triggers lights)
- Sensitivity (preventing activation from small animals or blowing leaves)
- Duration (how long lights stay on after detecting motion)
- Daylight sensors (preventing activation when adequate natural light exists)
Position motion-activated floodlights to cover entry points, side yards, and backyard access. The sudden illumination startles potential intruders while alerting you to unexpected activity.
Dusk-to-dawn sensors automatically turn lights on at sunset and off at sunrise, requiring no manual operation. These work perfectly for pathway lighting, entry fixtures, and decorative elements you want illuminated whenever it’s dark. Pair them with LED bulbs to minimize energy costs—modern LEDs use 75% less energy than incandescent bulbs while lasting 25 times longer.
Smart outdoor lighting allows scheduling and remote control via smartphone apps. Program lights to turn on before you arrive home, adjust brightness remotely, or create vacation schedules that make properties appear occupied. Some systems integrate with voice assistants for hands-free control.
Step 5: Create Welcoming Entry Lighting
Your front entrance sets the tone for your entire home. Proper entry lighting should make guests feel welcome while allowing you to see visitors clearly before opening the door.
Mount fixtures on both sides of the door at eye level (approximately 5.5 to 6.5 feet high) for balanced, shadow-free illumination. This dual-fixture approach eliminates the harsh shadows created by single overhead lights while providing better facial visibility for security.
Choose fixtures with warm-toned bulbs (2700K-3000K) rather than cool white for inviting ambiance. The style should complement your home’s architecture—traditional lanterns for classic homes, sleek modern sconces for contemporary designs, rustic fixtures for farmhouse aesthetics.
Add lighting for house numbers to help emergency services, delivery drivers, and guests locate your home quickly. Dedicated number lights or spotlights aimed at clearly visible numbers are simple additions with significant practical benefits.
Step 6: Add Ambiance with Decorative Outdoor Lighting
Once safety priorities are addressed, decorative lighting transforms outdoor spaces into extensions of your living areas. These elements create atmosphere that encourages you to use outdoor spaces even as days shorten.
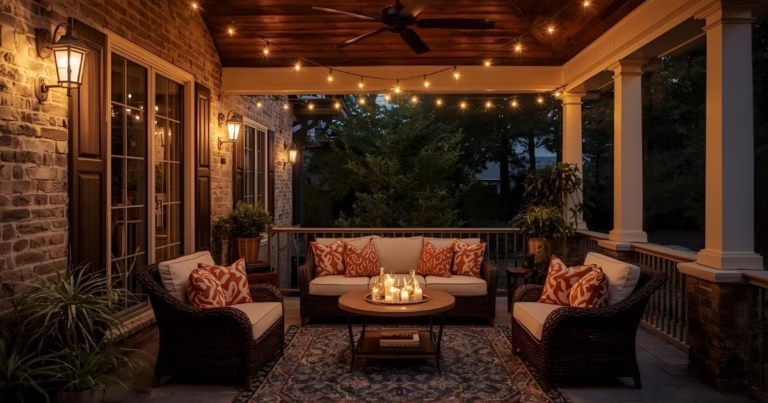
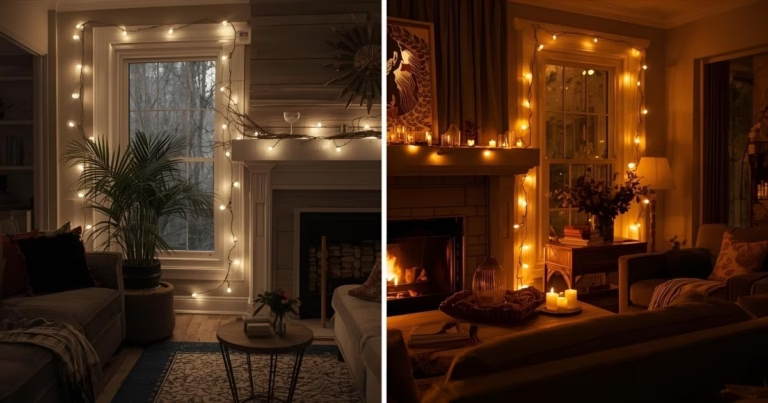
String lights remain the most versatile and impactful decorative option. Commercial-grade weatherproof strings with LED Edison bulbs create restaurant-patio ambiance over decks, patios, or pergolas. Drape them in gentle swags rather than tight straight lines for a more relaxed, organic feel.
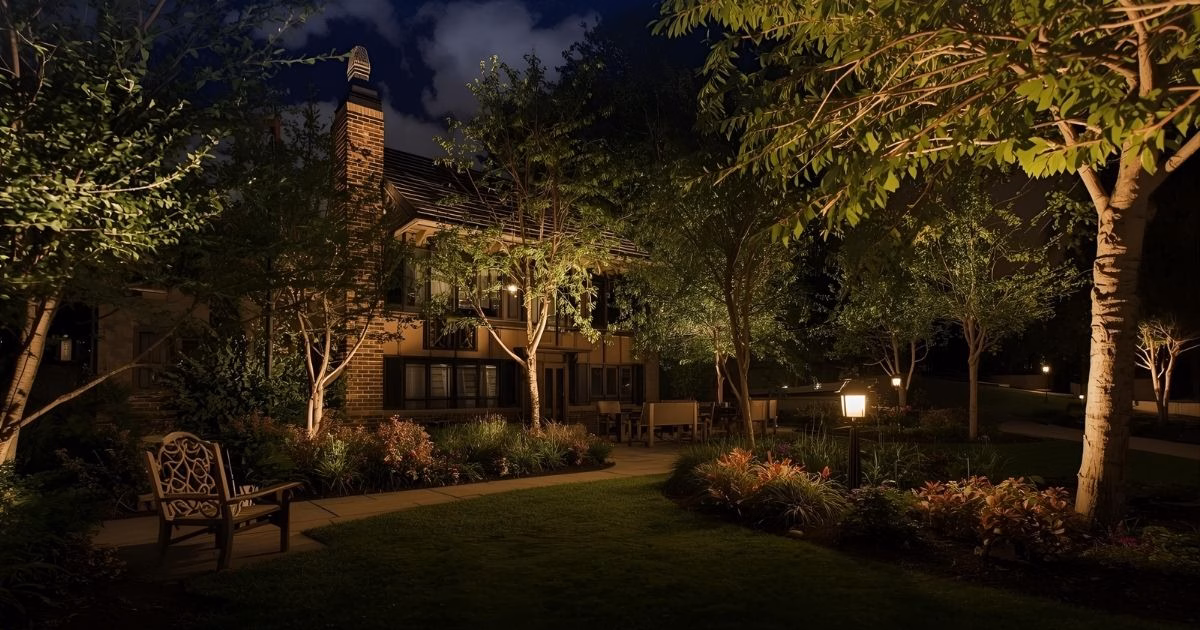
Landscape lighting highlights your property’s best features while adding depth and dimension. Uplight specimen trees to create dramatic silhouettes against the night sky. Use well lights at ground level to wash light up architectural features or tall plantings. Downlights mounted in trees or structures cast gentle pools of light below, mimicking moonlight.
Lanterns and decorative fixtures on tables, steps, or hung from hooks add vertical interest and warm focal points. Battery-operated LED lanterns offer placement flexibility without extension cords, perfect for seasonal decorating as you transition from fall to winter holidays.
Step 7: Address Driveway and Parking Area Lighting
Driveways require different lighting strategies depending on length and layout. The goal is safe vehicle navigation without creating glare that blinds drivers.
For shorter driveways, a single post light or wall-mounted fixture near the garage typically provides adequate illumination. Longer driveways benefit from multiple fixtures spaced 20-30 feet apart, positioned to light the driving surface rather than shining directly into windshields.
Low-voltage LED strips along driveway edges provide subtle guidance without harsh brightness. These work particularly well in areas where space is tight or where traditional fixtures might interfere with snow removal equipment.
Motion-activated driveway lights conserve energy by illuminating only when vehicles approach. Position sensors to activate early enough that lights reach full brightness before you need them—most quality fixtures illuminate instantly with LED bulbs, but account for sensor detection time.
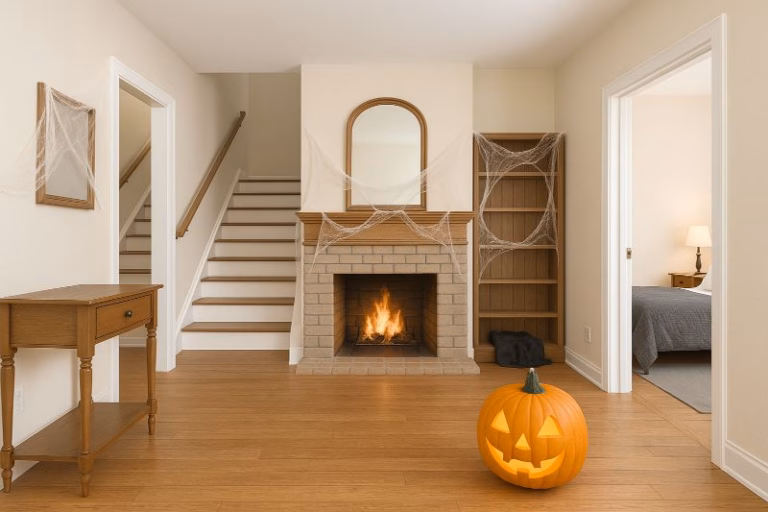
Step 8: Integrate Seasonal and Holiday Lighting Thoughtfully
As days shorten through fall and winter, many people add seasonal decorative lighting. Strategic integration of these temporary elements with your permanent outdoor lighting creates cohesive, polished results.
Use timers to synchronize decorative holiday lights with your permanent landscape lighting. Everything illuminating simultaneously at dusk creates intentional design rather than haphazard decoration.
Connect temporary decorative lights to weatherproof outdoor outlets controlled by smart switches or timers. This allows scheduling without daily plug-in routines while preventing lights from running unnecessarily during daylight hours.
Choose LED options for all seasonal lighting—they use minimal electricity, remain cool to the touch (reducing fire risks), and withstand cold temperatures better than traditional incandescent bulbs. Many LED holiday lights now offer warm white tones that coordinate beautifully with permanent warm-toned landscape lighting.
Step 9: Maintain and Winterize Your Outdoor Lighting
Shorter days and harsh winter weather demand proactive maintenance to keep outdoor lighting functioning properly when you need it most.
Monthly maintenance tasks:
- Clean fixture lenses and solar panels with soft cloth and mild soap
- Remove debris, leaves, or snow blocking light output
- Check for burned-out bulbs and replace promptly
- Verify motion sensors are properly positioned and functioning
- Tighten any loose fixtures before winter weather worsens issues
Seasonal winterization:
- Disconnect and store decorative lighting not rated for freezing temperatures
- Apply dielectric grease to outdoor electrical connections
- Ensure all fixtures are rated for wet locations if exposed to snow and ice
- Trim nearby vegetation that might break under snow weight and damage fixtures
- Document which circuits control outdoor lighting in case breakers trip during storms
Solar lights require special attention as days shorten. Shorter daylight hours mean less charging time, so position solar panels to receive maximum available sun. Clean panels weekly during fall and winter when positioning and debris accumulation significantly impact charging efficiency.
Step 10: Plan for Future Outdoor Lighting Improvements
As you live with your outdoor lighting through shortened days, note what works and what needs adjustment. Keep a running list of dark spots discovered, fixtures needing repositioning, or areas where additional lighting would improve function or ambiance.
Consider professional installation for complex projects involving buried wiring, transformer upgrades, or fixtures in difficult-to-reach locations. Licensed electricians ensure safe installation meeting local codes while providing warranties on both labor and materials.
Budget for incremental improvements rather than feeling overwhelmed by doing everything at once. Perhaps add pathway lighting one season, upgrade entry fixtures the next, and install landscape accent lighting the following year. This phased approach spreads costs while allowing you to refine your lighting plan based on actual use patterns.
Troubleshooting Common Outdoor Lighting Issues
Even well-planned outdoor lighting systems occasionally experience problems. Understanding common issues and solutions keeps your lights functioning optimally.
Lights flickering or not turning on: Check bulbs first (the simplest solution), then inspect connections for corrosion. Outdoor connections exposed to moisture benefit from dielectric grease application. For hardwired systems, verify circuit breakers haven’t tripped.
Motion sensors activating unnecessarily: Adjust sensitivity settings to prevent triggering from small animals, blowing vegetation, or passing cars. Reposition sensors away from heat sources like dryer vents or air conditioning units that can cause false triggers.
Solar lights not staying illuminated long enough: Clean solar panels thoroughly, ensure they receive direct sunlight for at least 6 hours daily, and verify rechargeable batteries haven’t exceeded their lifespan (typically 2-3 years). Replace batteries with appropriate types designed for solar fixtures.
Uneven lighting or dark spots: Add additional fixtures rather than trying to make single lights cover too much area. Strategic placement of multiple lower-wattage fixtures creates better overall illumination than fewer high-wattage fixtures with harsh shadows between them.
Key Takeaways
Outdoor lighting becomes essential as days shorten, addressing both safety concerns and ambiance needs. Success comes from strategic planning that prioritizes function first, then enhances with decorative elements.
- Safety must come first: Illuminate pathways, steps, entries, and driveways before adding decorative accent lighting. Properly lit navigation routes prevent injuries and security issues.
- Layer different lighting types: Combine path lights, wall-mounted fixtures, spotlights, and decorative elements at varying heights and intensities. This layered approach creates depth while ensuring adequate illumination.
- Embrace smart technology: Motion sensors, dusk-to-dawn sensors, timers, and smart switches dramatically improve convenience and energy efficiency. Automated lighting ensures safety without wasting electricity or requiring daily routines.
- Choose LED bulbs throughout: Modern LEDs provide better light quality, use minimal energy, and last significantly longer than traditional bulbs—especially important for hard-to-reach outdoor fixtures.
- Balance brightness with ambiance: More light isn’t always better. Properly positioned moderate-brightness fixtures create safer, more inviting spaces than fewer blazingly bright lights that create harsh shadows and glare.
- Maintain consistently: Monthly cleaning and inspection prevents small issues from becoming major problems. Outdoor fixtures face harsh conditions that quickly degrade performance without regular attention.
Outdoor lighting transforms from optional decoration to essential infrastructure as daylight hours shrink. Start with safety priorities in high-traffic areas, then gradually add ambiance elements that extend your living space beyond interior walls. With proper planning and maintenance, outdoor lighting provides security, functionality, and beauty throughout the darkest months, making your home welcoming regardless of when the sun sets.