
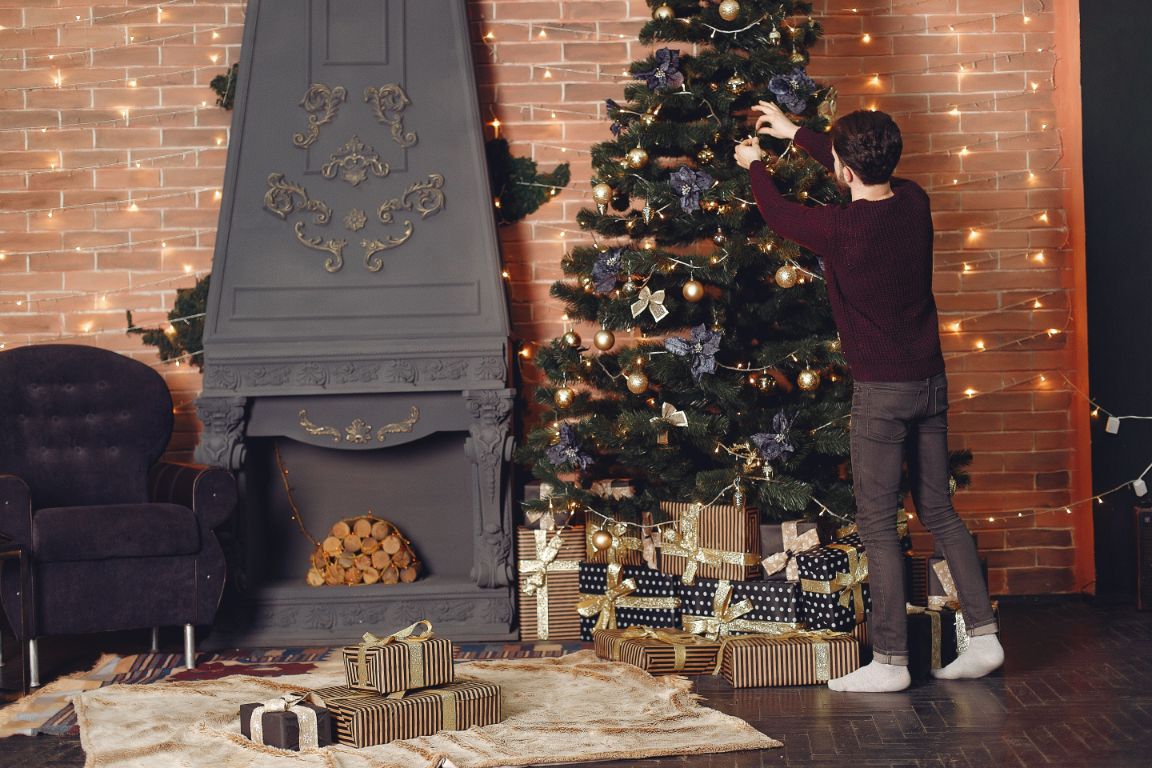
Hanging Christmas lights on brick is a little different from attaching them to gutters, wood trim, or siding.
The challenge is finding a secure attachment point without drilling unnecessary holes, damaging the brick face, or relying on adhesives that may fail in cold or wet conditions.
The best method depends on the shape of your brickwork, the weight of the lights, how long the display will stay up, and whether you want the installation to be completely removable.
This guide covers the most practical ways to hang Christmas lights on brick around walls, windows, doors, arches, and seasonal displays.
Best Ways to Hang Christmas Lights on Brick
For most homes, the main options are:
- Brick clips
- Fasteners installed into sound mortar joints
- Outdoor-rated adhesive hooks on suitable nearby surfaces
- Existing trim, ledges, or architectural features
For lightweight seasonal lights, it usually makes sense to start with the least permanent method.
Brick Clips
Brick clips are one of the simplest removable options when the shape of the brick allows them to grip securely.
They attach around exposed brick edges without screws or adhesive and can work well for:
- Christmas light strings
- Lightweight garlands
- Wreaths
- Small seasonal decorations
They work best when the brick projects slightly beyond the mortar joint. If the brick and mortar are almost flush, some clip designs may not fit properly.
Measure the brick before buying clips because brick sizes vary and clip compatibility matters.
Mortar-Joint Fasteners
If you want a reusable attachment point in the same location every year, a properly selected fastener installed into a sound mortar joint may be more suitable.
Mortar is generally easier to repair than a damaged brick face, but the condition of the joint matters.
Avoid attaching into mortar that is:
- Loose
- Cracked
- Powdery
- Crumbling
For a temporary string of lights, drilling directly into the face of the brick is usually unnecessary.
Outdoor Adhesive Hooks
Outdoor-rated adhesive hooks can work on some surfaces, but rough brick is not ideal because the adhesive may not have enough flat contact area.
They are usually more useful on nearby smooth surfaces such as:
- Painted trim
- Metal flashing
- Smooth door frames
- Some sealed masonry surfaces
Temperature, moisture, dirt, and surface texture can all affect adhesion, so follow the manufacturer’s instructions carefully.
How to Install Brick Clips
If your brick profile is compatible, installation is usually straightforward.
- Choose a brick with clean, solid edges.
- Fit the top of the clip over the upper edge.
- Secure the lower portion around the bottom edge.
- Check that the clip is firmly seated.
- Place the light wire into the hook or holder.
Do not force clips onto cracked or damaged masonry.
How Far Apart Should the Clips Be?
Spacing depends on the weight of the string and how straight you want it to hang.
Use additional support around:
- Corners
- Curves
- Plug ends
- Connectors
- Places where the cable changes direction
If the string sags significantly between clips, add more support rather than pulling the wire tighter.
Keep Tension Off the Wire
The clips should carry the weight of the light string.
The cable itself should not be stretched tightly between distant attachment points.
A little slack also makes removal easier after the season.
How to Hang Lights Around Windows, Doors, and Arches
Brick surrounds around windows and entrances often need more attachment points because the light string changes direction several times.
Around a Brick Window
You can use brick clips on the masonry and transition to suitable removable hooks on smooth trim where necessary.
If you want to outline the whole window, measure the perimeter first.
For example, a window that is 4 feet wide and 5 feet tall has a perimeter of:
4 + 5 + 4 + 5 = 18 feet
Add a little extra for routing and connections.
Around a Brick Doorway
Use clips on the brick and suitable attachments on the door trim if needed.
Make sure no clip or wire interferes with the door opening or sits where people may catch clothing on it.
Around a Brick Arch
Arches need closer attachment spacing because the direction changes gradually.
Use more clips so the cable follows the curve rather than cutting across it in straight sections.
Install a small section first, step back, and adjust before completing the entire arch.
For a Lighted Garland
A garland is heavier than a simple light string.
Use enough attachment points to spread the load rather than supporting the entire garland from only two locations.
Check the weight rating of the clips or hooks before hanging heavier seasonal decorations.
Brick Clips vs Adhesive Hooks vs Mortar Anchors
| Method | Best For | Main Advantage | Main Limitation |
|---|---|---|---|
| Brick clips | Light strings and lightweight decorations | No drilling or adhesive | Requires compatible brick profile |
| Outdoor adhesive hooks | Lightweight lights on smoother nearby surfaces | Easy temporary installation | Less reliable on rough brick |
| Mortar anchors | Repeated or heavier installations | More permanent attachment point | Leaves a hole in mortar |
For most temporary Christmas-light installations, brick clips are the first method worth trying if they fit the masonry properly.
Which Light Types Work Best on Brick?
The mounting method also depends on the type of lights you are hanging.
Mini Christmas Lights
Mini LED strings are lightweight and easy to support with brick clips.
They work well for:
- Window outlines
- Doorways
- Wall runs
- Small garlands
C9 Christmas Lights
C9 bulbs are larger and heavier, so use more frequent support and avoid long unsupported sections.
For roofline-style applications, see our C9 LED Christmas lights guide.
Icicle Lights
Icicle lights create more downward weight because of the hanging strands.
If the brick wall sits directly below a gutter or eave, attaching the lights to the roofline may be easier than attaching them directly to the masonry.
See our LED icicle lights guide for more.
Fairy Lights
Fairy lights are very lightweight and usually require only small support points.
Because the wire is thin, avoid pulling it tightly across rough brick edges.
Plan the Power and Cable Route Before Installation
Before attaching the first clip, decide how the lights will be powered.
Check:
- Where the nearest outlet is
- Which end of the light string has the plug
- Whether an extension cord is needed
- How the cable will reach the wall
- Where connectors and controllers will sit
This prevents you from completing the installation only to discover that the power connection is on the wrong side.
Keep Cords Away From Walkways
Route extension cords away from stairs, doorways, and common walking paths whenever practical.
This is especially important around the front entrance where guests may arrive after dark.
Protect Wires From Rough Brick
Brick can be abrasive.
Do not stretch electrical wire tightly across sharp masonry edges.
Let the clips support the cable so it is not rubbing against the brick.
Use Outdoor-Rated Equipment Outside
For exposed exterior installations, check that the lights, extension cords, power supplies, and related equipment are suitable for outdoor use.
Common Mistakes to Avoid
Drilling Into Brick for a Lightweight Temporary Display
For seasonal lights, a removable mounting option is usually worth trying first.
Using Indoor Adhesive Hooks Outdoors
Indoor products may not be designed for temperature changes and moisture.
Using Too Few Clips
Large gaps between supports create sagging and put more tension on the cable.
Pulling the Light String Tight
Leave a small amount of slack rather than using the wire as a tension line.
Using Nails or Staples Through the Wire
Never pierce or crush an electrical light cable with a fastener.
Ignoring the Power Route
Plan the plug location before the installation begins.
Depending on Tape on Rough Brick
Most tapes do not get enough surface contact on heavily textured masonry to provide a dependable installation.
Quick Installation Checklist
| Step | What to Do |
|---|---|
| 1 | Inspect the brick and mortar condition |
| 2 | Choose brick clips or another compatible mounting method |
| 3 | Measure the area you plan to decorate |
| 4 | Plan the outlet and cable route |
| 5 | Test the light strings |
| 6 | Install a short test section |
| 7 | Add extra support at corners and curves |
| 8 | Check the alignment from a distance |
| 9 | Keep wires clear of walkways and rough edges |
| 10 | Remove each section carefully after the season |
Final Thoughts
For most temporary Christmas-light installations on brick, removable brick clips are the simplest place to start.
They avoid drilling, can be reused, and work well for lightweight LED strings when the brick profile is compatible.
If clips do not fit, look for a suitable smooth trim surface for outdoor-rated adhesive hooks or consider a properly installed attachment point in a sound mortar joint for a more permanent setup.
Whatever method you choose, use enough support points, avoid putting tension on the electrical cable, protect wires from rough brick, and plan the power route before installation.
If you are planning the rest of your exterior display, see our guide to estimating Christmas lights for a house. You can also browse our Event Lighting guides for more seasonal lighting ideas.